Replacing a water heater element can seem daunting. However, with the right guidance, it becomes manageable. A well-functioning water heater is essential for comfort in any home. Over time, the water heater element can wear out, leading to inconsistent heating. Knowing how to replace this component efficiently saves both time and money.
Customers often hesitate when faced with repairs. They fear making mistakes or causing further issues. Understanding the process is crucial. Familiarity with tools and safety measures enhances confidence. Knowledge of common problems with water heater elements can prevent future troubles. With practical experience, even a novice can tackle this task.
Moreover, this replacement process involves specific details. Gathering the right tools and preparing for the job can make a significant difference. Each step taken towards replacing a water heater element matters. Mistakes can happen, and troubleshooting skills will be helpful. Learning from errors can lead to improved techniques in the future.
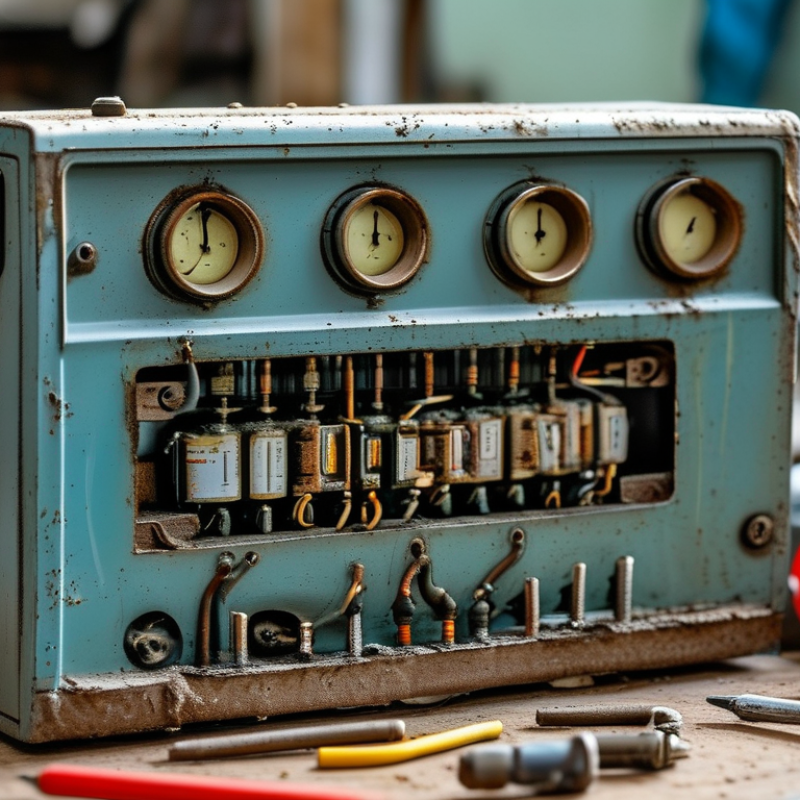
Understanding the function of a water heater element is vital for maintaining efficiency in your home. Water heater elements are responsible for heating water within the tank. As per the U.S. Department of Energy reports, nearly 25% of a home’s energy use goes towards heating water. This emphasizes the importance of a well-functioning heating element.
Water heater elements typically consist of metal coils that resist electricity. When current passes through, they generate heat. If these elements malfunction, the water temperature may drop, leading to increased energy bills. According to industry studies, 80% of homeowners delay repairs, risking further damage. This shows a need for regular maintenance to ensure longevity and performance.
Some homeowners may notice signs like discoloration or strange noises. These are often indicators of wear. Regular inspection is essential. However, many lack the knowledge to recognize these signs early. An annual check-up can prevent unexpected breakdowns. In summary, understanding your water heater element enhances efficiency and helps save money in the long run.
Replacing a water heater element can be daunting. A crucial first step is identifying the correct replacement element. Each water heater has specific requirements based on its make and model. Check the owner’s manual or the label on the existing element. This will provide vital information.
Tips: Always note the wattage and voltage of your current element. More power doesn't always mean better performance. Choosing a compatible size is essential to avoid fitting issues. Consider the material type too—copper and stainless steel are popular choices that offer longevity.
In addition, understanding the differences between upper and lower elements can help. The upper element heats water first to meet demand, while the lower element ensures a steady supply. Reflect on your water usage patterns to determine which type suits your needs best. Remember, the right choice today can prevent future headaches.
| Element Type | Wattage | Voltage | Length | Notes |
|---|---|---|---|---|
| Upper Element | 4500 W | 240 V | 10 inches | Used for faster heating |
| Lower Element | 3500 W | 240 V | 12 inches | Ideal for maintaining temperature |
| Submersible Element | 4500 W | 240 V | 14 inches | Fits various tanks |
| Flange Element | 5500 W | 240 V | 6 inches | Heavy-duty, longer lifespan |
| Rigid Element | 3000 W | 120 V | 8 inches | Compact design |
Replacing a water heater element is a task that can be done efficiently with the right tools and materials. Fundamental tools include a multimeter for testing elements, a wrench for removing bolts, and a screwdriver for securing connections. It is essential to have a garden hose ready to drain the tank and prevent water damage.
According to the Home Improvement Research Institute, about 65% of water heater failures are due to malfunctioning elements. With proper preparation, you can tackle this common issue effectively.
Selecting the right replacement element is equally crucial. The National Association of Home Builders suggests ensuring that you match the wattage and length to your existing unit. Materials needed often include plumber's tape for sealing connections and safety goggles to protect your eyes during replacement. While these tools seem basic, a lack of proper equipment can lead to inefficiency and frustration. A technical report from the International Energy Agency noted that 50% of DIY repairs fail due to inadequate tools. Reflect on your skills and ensure you are equipped before beginning the process.
Replacing a water heater element can seem daunting, but with proper guidance, it becomes manageable. According to the U.S. Department of Energy, about 90% of American households rely on water heaters for daily activities. When elements fail, understanding the replacement process ensures hot water is restored efficiently.
Start by turning off the power to the heater. Ensure you have safety gear, including gloves and goggles. Draining the tank is crucial. As water can get very hot, doing this step carefully prevents scalding. The process typically takes one to two hours if done correctly. Data shows that failing to follow proper procedures can lead to accidents.
Choosing the right replacement element is vital. Standard elements come in different wattages. A study revealed that mismatched wattage can lead to longer heating times and increased energy costs. Finally, after replacing, conduct a test for leaks. It’s vital to address any signs of stubborn leaks instantly. Overlooking small issues can lead to bigger problems down the line. This process is not just about replacement; it’s also about ensuring long-term reliability.
After replacing a water heater element, testing is crucial. First, turn the power back on. Ensure the heater is filled with water before restoring power to avoid damage. Wait for about 30 minutes for the water to heat up.
Once heated, check the water temperature at the tap. Ideally, it should reach 120-140 degrees Fahrenheit. If it’s not warm enough, there may be an issue with the new element.
Listen for sounds. A noisy tank can indicate sediment buildup or a malfunction. Observe any leaks around the base. They could signal a poor connection. If problems persist, consulting a professional may be wise. Remember, safety always comes first. Examine everything thoroughly, and trust only reliable methods when testing.
: It heats water within the tank, critical for home efficiency.
A malfunctioning element can lead to high energy bills and lower water temperatures.
Regular inspections are vital. An annual check can prevent breakdowns.
Look for discoloration, strange noises, or sudden temperature drops.
Turn the power back on only after the tank is filled with water.
It should reach between 120-140 degrees Fahrenheit.
Observe the base of the heater for any leaks indicating connection issues.
Noises may signal sediment buildup or other malfunctions.
If problems persist despite your testing, seek professional help.
Many lack awareness or knowledge, which can lead to further damage.
Replacing a water heater element is a task that can enhance the efficiency of your heating system. Understanding the function of the water heater element is crucial, as this component is responsible for heating the water within the tank. Before undertaking the replacement, you must identify the correct element for your specific water heater model, ensuring compatibility and optimal performance.
To facilitate a smooth replacement process, gathering the right tools and materials is essential. The task can be broken down into a step-by-step guide, detailing safety precautions and installation instructions. Once the new water heater element is in place, testing your system is vital to confirm that it operates correctly and that the water heats effectively. This efficient replacement process can prolong the life of your water heater and improve its functionality.

Huayida